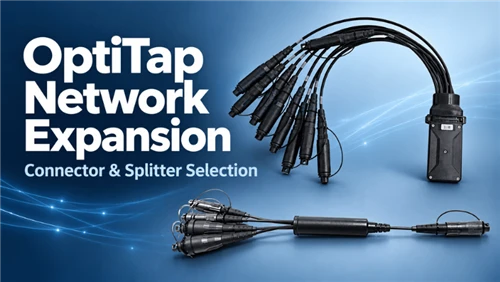
An OptiTap splitter terminal can add customer ports to an existing fiber-to-the-home (FTTH) branch when the input fits the installed connection and enough optical budget remains for the extra split. Start by identifying the feed connection and the drop cables you want to keep. Then select the split ratio and a complete assembly for sample approval.
Can your existing OptiTap branch support more users?
An unused port is a useful starting point. Its upstream splitter, remaining optical allowance and supported user count determine how many additional customers the branch can serve. A spare distribution fiber may offer another route if a downstream split would use too much of the available budget.
- With a spare port and enough optical headroom, assess a downstream 1×2, 1×4 or 1×8 splitter.
- With a spare distribution fiber, compare a separate terminal feed with extending the existing split.
- With an occupied port, plan the existing customer's migration before assigning the new outputs.
Count new customers, any service being moved and the outputs reserved for later. If one existing customer takes an output on a 1×8 splitter, seven positions remain before reserving spares. The operator's optical line terminal (OLT) still shares its capacity across the branch; its permitted split and optical network terminal (ONT) count set the service limits.
A flexible splitter terminal divides one incoming optical path among several outputs. An unsplit branch assembly carries separate fibers to its outputs. The circuit drawing identifies which function you are ordering.
Match the feed connection and the customer drops
The input and outputs have separate jobs. The input connects to the existing feed; each output connects to a customer's drop cable. A useful connection map names the two parts that meet at each joint, including any converter.
|
Connection in your project |
What determines the matching part |
|---|---|
|
Feed from an existing terminal port |
The terminal model and receiving-port interface determine the new assembly's input. |
|
Feed from an existing drop lead |
The lead's plug determines the receiving input, or both sides of a named converter. |
|
Reuse existing customer drops |
The drop-plug model determines the required output receptacle on the new terminal. |
OptiTap and in-line OptiTap are distinct input choices
Corning's MultiPort Flex Splitter Terminal ordering guide identifies input code 43 as OptiTap SC/APC and code 48 as in-line OptiTap. The same family includes 1×2, 1×4 and 1×8 splitters for branching from an existing terminal. Selecting the ratio and selecting the input are separate ordering decisions.
For a real catalogue reference, Corning MSF-F84848R43F is listed as an in-line OptiTap 1×8 terminal with no expansion port. Include the full part number when describing installed equipment: "eight-port OptiTap terminal" leaves out information that can change the proposed connection.
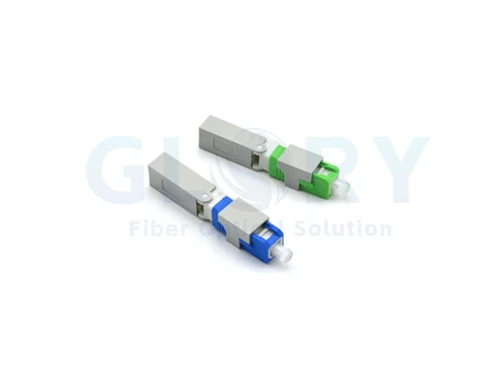
Photograph the mating face, coupling and product label on the existing feed and one drop. Together with the part numbers, these help identify the keying, locking method and seal. Have the supplier confirm the specific Glory-to-Corning pairing in the configuration drawing and sample record.
SC/APC describes the optical interface and polish; the outdoor housing provides the locking and sealing arrangement. Corning identifies OptiTap as single-fiber and OptiTip as multifiber. For the mechanical details, see Glory's guide to locking fiber connectors. Where the installed hardware uses Pushlok, identify the appropriate converter through Corning's Evolv accessory system and include both sides on the connection map.
Keep the extra split within the optical budget
The budget needs the loss of the finished splitter assembly, the added drop and any separate connections. Use the path with the greatest loss, which may differ from the longest cable route. The engineering comparison should cover the network's required wavelengths and directions.

Example connection map. The arrows trace one customer path; PON traffic travels in both directions. Other outputs need their own path checks.
C1 joins the existing feed to the input, C2 joins an output to the drop, and C3 connects the drop at the premises. The example's upstream loss ends before C1, and its assembly loss excludes C1 and C2. A supplier's loss report should show the measurement endpoints, or reference planes, so each connection is counted once.
Illustrative planning example at 1310 nm: a 28.0 dB path limit, 14.0 dB existing upstream loss and 3.0 dB engineering reserve. The assumed assembly losses are 8.0 dB for 1×4 and 11.0 dB for 1×8. New drop fiber, three mating pairs and two splices add 1.9 dB. All values are example assumptions.
|
Candidate |
Result with the stated reserve |
|---|---|
|
1×4 assembly |
26.9 dB total allocation; 1.1 dB remains within the assumed limit. |
|
1×8 assembly |
29.9 dB total allocation; exceeds the assumed limit by 1.9 dB. |
Here, the lower split fits the allowance; the larger one needs a lower-loss path or a different feed. For project approval, engineering also checks minimum loss and receiver overload. The FOA network-design reference explains how passive-path losses relate to the selected equipment's optical limits.
Choose a Glory terminal around the circuit and site
Both Glory ranges below include common equal-split options. Start with the circuit and connector combination, then compare the space needed for the body, connected plugs and cable routing. Flexible leads let installers position individual connections around obstructions in a handhole or pedestal.
 |
Flexible Service Terminal / Fiber Access TerminalsGlory lists 1×2, 1×4 and 1×8 splitter options, with a 0.3 m input lead and 0.5 m output leads. This range is a starting point when lead reach and routing space are central to the expansion. Compare those published lead lengths with the distance from the existing feed to the planned customer connections. |
 |
MultiPort Flex Splitter TerminalGlory provides 1×2 and 1×4 dimensional drawings and lists PLC splitter configurations through 1×16. Use this range to discuss the required circuit and review the assembly drawing before setting the installation layout. For equal subscriber branches, specify the PLC version. The range also lists unequal couplers, which need a different circuit choice. |
Leave room to connect and replace a drop, support each lead and maintain the specified cable bend radius. For a wider route or split-plan change, Glory's ODN planning guide covers the network layout and bill of materials.
Approve one complete sample before the bulk order
Sample approval connects the paper specification to the assembly that will be supplied. Use the selected feed interface, customer drop and any converter, then keep the approved drawing revision on the purchase order.
- Mate the sample with the intended receiving parts. Follow the applicable cleaning and engagement procedure, and check that the coupling and seal seat correctly.
- Measure every output at the agreed wavelengths and reference planes. Retain insertion-loss and any required return-loss results against the port map.
- Review outdoor sealing evidence for the connected assembly, including any converters and caps on unused outputs. Keep the accepted sample, test record and component list together.
Send the details that make a quote usable
Begin with the existing terminal or connector part number and photos of the feed and drop ends. Add the following project details so the supplier can propose one clearly defined assembly:
- Required split ratio, customer outputs and reserved positions.
- Upstream split plan, remaining optical allowance and operating wavelengths.
- Installation space, lead-length requirements and mounting arrangement.
- Quantity, delivery schedule and accessories to include, such as caps, converters, brackets and labels.
Ask for the proposed part list and configuration drawing with the quote, followed by sample approval before the bulk order. This gives engineering a defined assembly to review and procurement a consistent scope for comparing prices.
Send your existing terminal or drop-cable reference and the number of customer ports needed. Include connector photos to start the input and output selection.